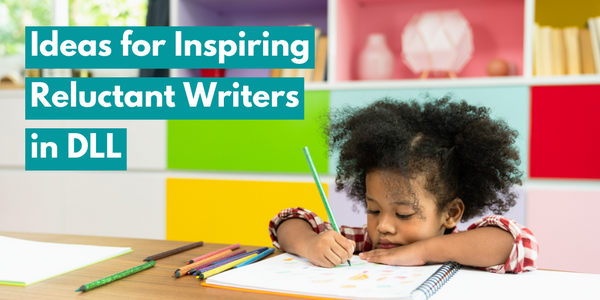
 This is the sixth of a progressive series of posts that we will be featuring on the Hameray Blog every Thursday for 10 weeks (for the other posts,
click here
). It's authored by special guest blogger Paula Dugger, who is an educational consultant with a rich-literacy background that includes serving as a Reading Recovery Teacher/Teacher Leader, first grade teacher, Title I and high school reading teacher, as well as a Reading Coordinator. Hameray is thrilled to be able to share with you Paula's classroom-tested ideas and experience in helping young learners achieve their early literacy goals.
This is the sixth of a progressive series of posts that we will be featuring on the Hameray Blog every Thursday for 10 weeks (for the other posts,
click here
). It's authored by special guest blogger Paula Dugger, who is an educational consultant with a rich-literacy background that includes serving as a Reading Recovery Teacher/Teacher Leader, first grade teacher, Title I and high school reading teacher, as well as a Reading Coordinator. Hameray is thrilled to be able to share with you Paula's classroom-tested ideas and experience in helping young learners achieve their early literacy goals.
Magnetic Letters and Cognitive Development
Activities using magnetic letters can help in cognitive development both consciously and unconsciously in young children. The letters are colorful, three-dimensional, and they lend themselves to movement and touch. Letters are a part of the print we see around us in the world. Using soft foam letters (Hameray offers a great set of uppercase and lowercase foam letters), children can learn many skills:
-To categorize by sorting, matching, and classifying
-To differentiate colors, shapes, and letters
-The concept of letters by name, sight, shape, and sound
-The concept of words by sight or by putting together sounds to form words
As previously mentioned, my series of guest blogs is on specific activities that use magnetic letters to help with the cognitive development of preschoolers. No activity should exceed five to ten minutes depending upon the age, ability, and interest of the child. These activities should be seen as fun games, and each will be a little more rigorous than the one before. The blogs will be divided into four groups:
-Teaching colors
-Teaching similarities and differences (or comparing and contrasting)
-Teaching the alphabet (letter names)
-Word analysis (making words)
Teaching Similarities & Differences in Letter Shapes/Forms
Colors are one of the first ways young children make distinctions between things in the world. A natural progression from colors is shapes. Each letter is different, but many are similar. Magnetic letters are a great tool for matching letters that are first alike, then similar, then different. This post and the following two will address these activities. Whenever introducing a task, make sure the child understands what s/he is to do. A great framework is listed below that demonstrates how to scaffold an activity by modeling and gradually releasing the activity to the child.

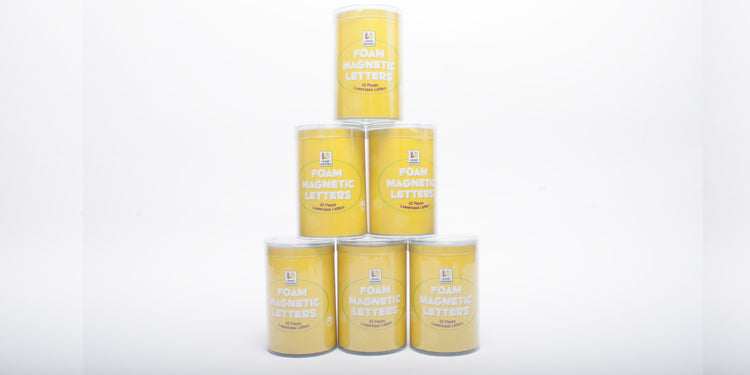
Materials used in this Activity: Lowercase Foam Magnetic Letters and Magnetic Whiteboard

Activity #6: Locating Letters with Similar Features
This activity will begin helping the child to discriminate between the different features or shapes of letters. While the child may not be ready to name or form the letters through writing, s/he will begin to discriminate and see that the shapes or forms of letters are different. This activity is divided into several parts depending on the age and ability of the child. The parent/teacher will need to make the decision on when to introduce each of these concepts based on the child's readiness. Distinguishing between short/tall will be at a much lower level and easier than some of the other suggested activities. These are being introduced all together to show a possible progression once the child is ready to move on.
Tall and Short Letters

Choose several letters that are short (such as a, c, o, s, w) and some letters that are tall (such as l, h, b, k). If possible draw a short rectangle and a tall rectangle as visual aid to sort and distinguish short and tall letters on a dry erase board.

Say to the child, “this is a short letter and I am going to place it in the short box. Can you help me find another short letter and put it into the short box?”


Continue asking until all are chosen or the child does not see any others.


Next explain that the other letters are tall and repeat the procedure just completed using tall letters. If any remain ask which box the letter(s) would best fit-short or tall box.


If the task was easy, you can take the letters out of the boxes and scramble them up and ask the child to find a short, then a tall, then another tall or another short letter until all have been sorted. If the original task needs more practice, wait and do this a later time.
In subsequent lessons, you can vary the activity and ask the child to:

Round or Circle and Slanted Line Letters
Once the child can distinguish and recognize short and tall letters you can introduce round and slanted letters. Many of these appeared in the last activity as either short or tall, so you will first need to begin by showing examples of each and explaining or tracing with your finger on the letter to help with the new concept you want the child to attend to.

Place several letters that have a circle as part of its shape (such as a , b , e , c , o , d , g ) and trace around the round or circle part of the letters with your finger. Depending on the child’s understanding and knowledge, you can ask him/her to trace over these letters as well with their finger to help with the concept if needed.

Next introduce slanted letters and trace around parts of the letters that have slanted lines (such as z , v , w , y , x , k ). Again allow the child to do this as a way to help understand the difference between rounded letters and slanted letters.

Finally choose several examples of each of these two types of letters and ask the child to pick out all or one “circle” or “round” letter(s) depending on which term you wish to use. Then follow with one or all “slanted” letter(s).
In subsequent lessons, you can vary the activity and ask the child to:

Other ideas are letters with tails ( g , j , p , q , y ) and letters with circles and lines ( b , d , g , p , q ), etc. These activities require the child to pay close attention to the visual features of letters which if not developed early may cause confusion later when having to discriminate words in text or trying to form letters in writing.
This was the sixth activity in the series. If you'd like to see the other lessons, click here !
- Paula Dugger
~~~
Paula Dugger has a B.S., M.Ed., and Reading Specialist Certification from The University of Texas at Austin and Reading Recovery training through Texas Woman’s University. Paula does educational consulting and training through Dugger Educational Consulting, LLC and can be contacted at np.dugger@att.net
Paula and her husband Neil are parents to two wonderful daughters, Alicean and Ashley, two sons-in-law Kevin and Patrick, and grandparents to Carter. She also raises registered Texas Longhorns on the weekends. The longhorn cattle are featured in her first book published by Hameray Publishing Group, titled Longhorns .
~~~
If you'd like to order some magnetic foam letters to try out this activity for yourself, you can find them on the Hameray website. If you're teaching at this stage of literacy, you might also be interested in the Letter Buddies books. Click on the images below to see some key features of the series!