This is the final post in a series of three posts on letter learning taken from the Letter Buddies teacher's guide by Libby Larrabee. You can read the earlier posts here and here !
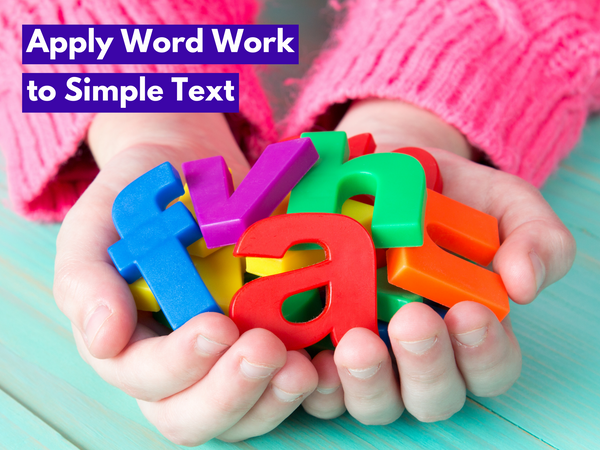
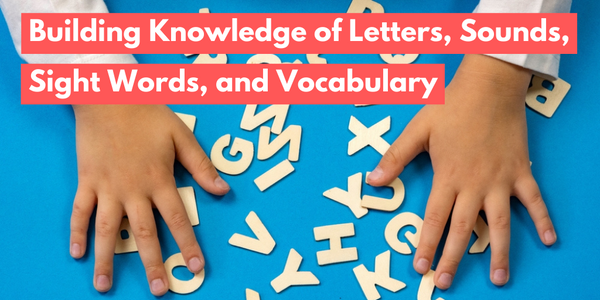
 Magnetic letters can be used on a daily basis to support young children’s development of letter-shape, letter-name, and letter–sound knowledge. This can be accomplished with sorting activities. As they practice sorting, children learn to categorize, recognize, and classify distinguishable features of letters. Their ability to distinguish one letter from another rapidly is a skill that is important for reading. Good readers sample just enough information in print (letters, word parts, and whole words) to maintain meaning while they are reading. This quick visual sampling means that letters must be recognized automatically. This automatic recognition of letters develops over time.
Initially, young children will need to examine the details of individual letters. Your conversations about letters and how they are formed will help this happen. Daily sorting of letters will also support the development of this automatic recognition. Once you have demonstrated how to sort, the activities can be placed in your ABC center. You can also have several different sorting activities available depending on the needs of your children.
Materials Needed:
-
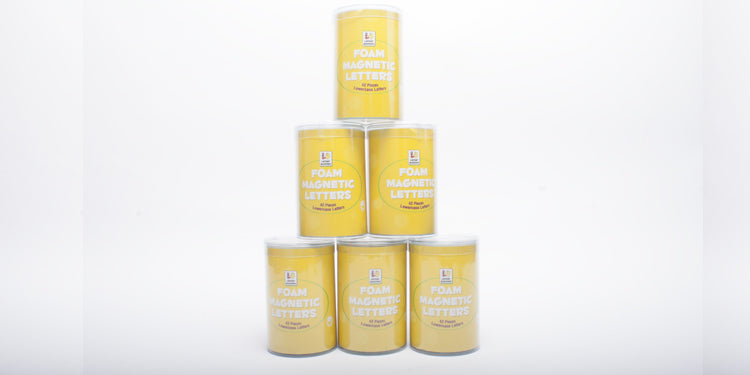
Several sets of Letter Buddies Magnetic Letters
-
Small baskets to hold letters for sorting activities
-
Letter Buddies Magnetic Whiteboards or any magnetic surface (upright and at child’s eye level)
Choosing Letter Features to Sort:
Initially choose categories where the differences are easy to see (e.g.: short and tall), and use only a few letters. As children become more proficient in sorting, put more letters of each category in the basket. Letter Buddies Foam Magnetic Letters come in three colors, which helps draw children’s attention to the different features of the letters.
Here are some categories of features for sorting letters:
- Short and tall letters
- Short and tall letters and letters that fall below the line
- Letters with open and closed curves
- Tall letters with and without circles
-
Small letters with and without circles
-
Letters with and without hooks
-
Letters with one valley/two valleys (v, w, y)
-
Letters with one hump/two humps (n, h, m)
-
Letters that are crossed/not crossed (t, f, l, h, b)
-
Letters with tunnels/letters with holes (n, h, m, d, g, a, b, q, o, p)
-
Letters with sticks and curves/letters with just sticks (t, l, v, w, z, y, r, u, f, h, m, n)
-
b, d, p, q (done after many other sorts)
Also try using some of these categories to sort uppercase letters!
Demonstrating Sorting (best done individually or in small groups)
- Bring the basket of letters to the upright magnetic surface. Initially use only 6–8 letters.
- Show children how to place the letters in a group on the magnetic surface just above their eye level.
- Using both hands, slowly move the letters down into their appropriate groups. (It is important for children to use both hands and have the letters at eye level).
-
Return the letters back to the group and sort again.
-
Initially (especially for very young children), it is not necessary to name the letters. The focus to begin with should be on the features of the letters.
-
As children become familiar with the task, their speed will increase.
-
When they have learned the corresponding letter names, ask them to name the letters while they sort.
-
Remember to change your sorts every week or two weeks to keep the activities fresh and the children challenged.
Make sure to continue telling your students the purpose for sorting. It is brain work! They are exercising their brains so that reading will be easier!
Matching Uppercase and Lowercase Letters
Once your children can recognize the significant features of letters, use the Letter Buddies Magnetic Letters for matching uppercase and lowercase letters. Knowing both the uppercase and lowercase form of each letter is important. You may want to start out with only 6–8 letters to be matched. As time goes on, children will be able to match all the letters of the alphabet.
Learning Alphabetical Order
 Letter Buddies Magnetic Letters can also be used to help children learn alphabetical order in both uppercase and lowercase. Prepare some strips for matching. You may want to break the alphabet up into smaller groupings before having the children alphabetize all the letters. For example:
-a, b, c, d, e, f, g, h, i,
-j, k, l, m, n, o, p, q, r,
-s, t, u, v, w, x, y, z
After working with smaller groupings of letters, children can be challenged to alphabetize all the letters without the matching strip.
Advanced Activities
- Place pictures of several objects in a basket with the corresponding magnetic letters for initial sounds. Have the children match the correct letter and picture.
- Practice letter formation. Place a letter on the magnetic whiteboard. Have the children finger trace the foam letter, getting a feel for its shape. Once familiar, ask them to try writing the letter on the whiteboard, next to the magnetic letter, using dry-erase markers.
For More Practice with Letter Learning...
Download our 12-page Letter Buddies Matching worksheets below, with tracing and initial-sound exercises for each letter of the alphabet.
Learn about our Letter Buddies line of letter-learning products for early childhood by clicking here to visit our website or clicking the image to the left below to download information sheet on Letter Buddies Letter Books for letter learning! To download the free worksheets, click the image to the right.


